In the previous blog posts, I showed you the first 3 steps of the assembly process. Now I will show you how to mount the battery box, and the Ultrasonic Distance Sensor.
We will start by installing the battery box.
The necessary screws and nuts for it are packaged in a separated clearly labeled bag:

Remove the battery box, the screws, and the nuts from the bags.
The power connector for the Arduino board is packed inside the Battery box. Open the box to take it out:

Place the battery box on top at the back of the top layer of the Chassis as shown on the picture and insert the screws through the 4 holes:

Tighten the screws with nuts on the bottom of of the Chassis layer:

The Smart Car kit also contains 2 power wires for the L298N Motor Driver Module:

Since the L298N Motor Driver Module will need to be powered from the batteries, we will use the connection points of the Arduino Power connector to connect the wires for the L298N Motor Driver Module.
Connect the 2 Red Wires (The one from the battery pack, and the one for the motor driver) together to the (+) Connection point of the Arduino power connector:

Connect the 2 Black Wires (The one from the battery pack, and the one for the motor driver) together to the (-) Connection point of the Arduino power connector:

Next we will install the Ultrasonic Distance Sensor and the Servo controlling its direction.
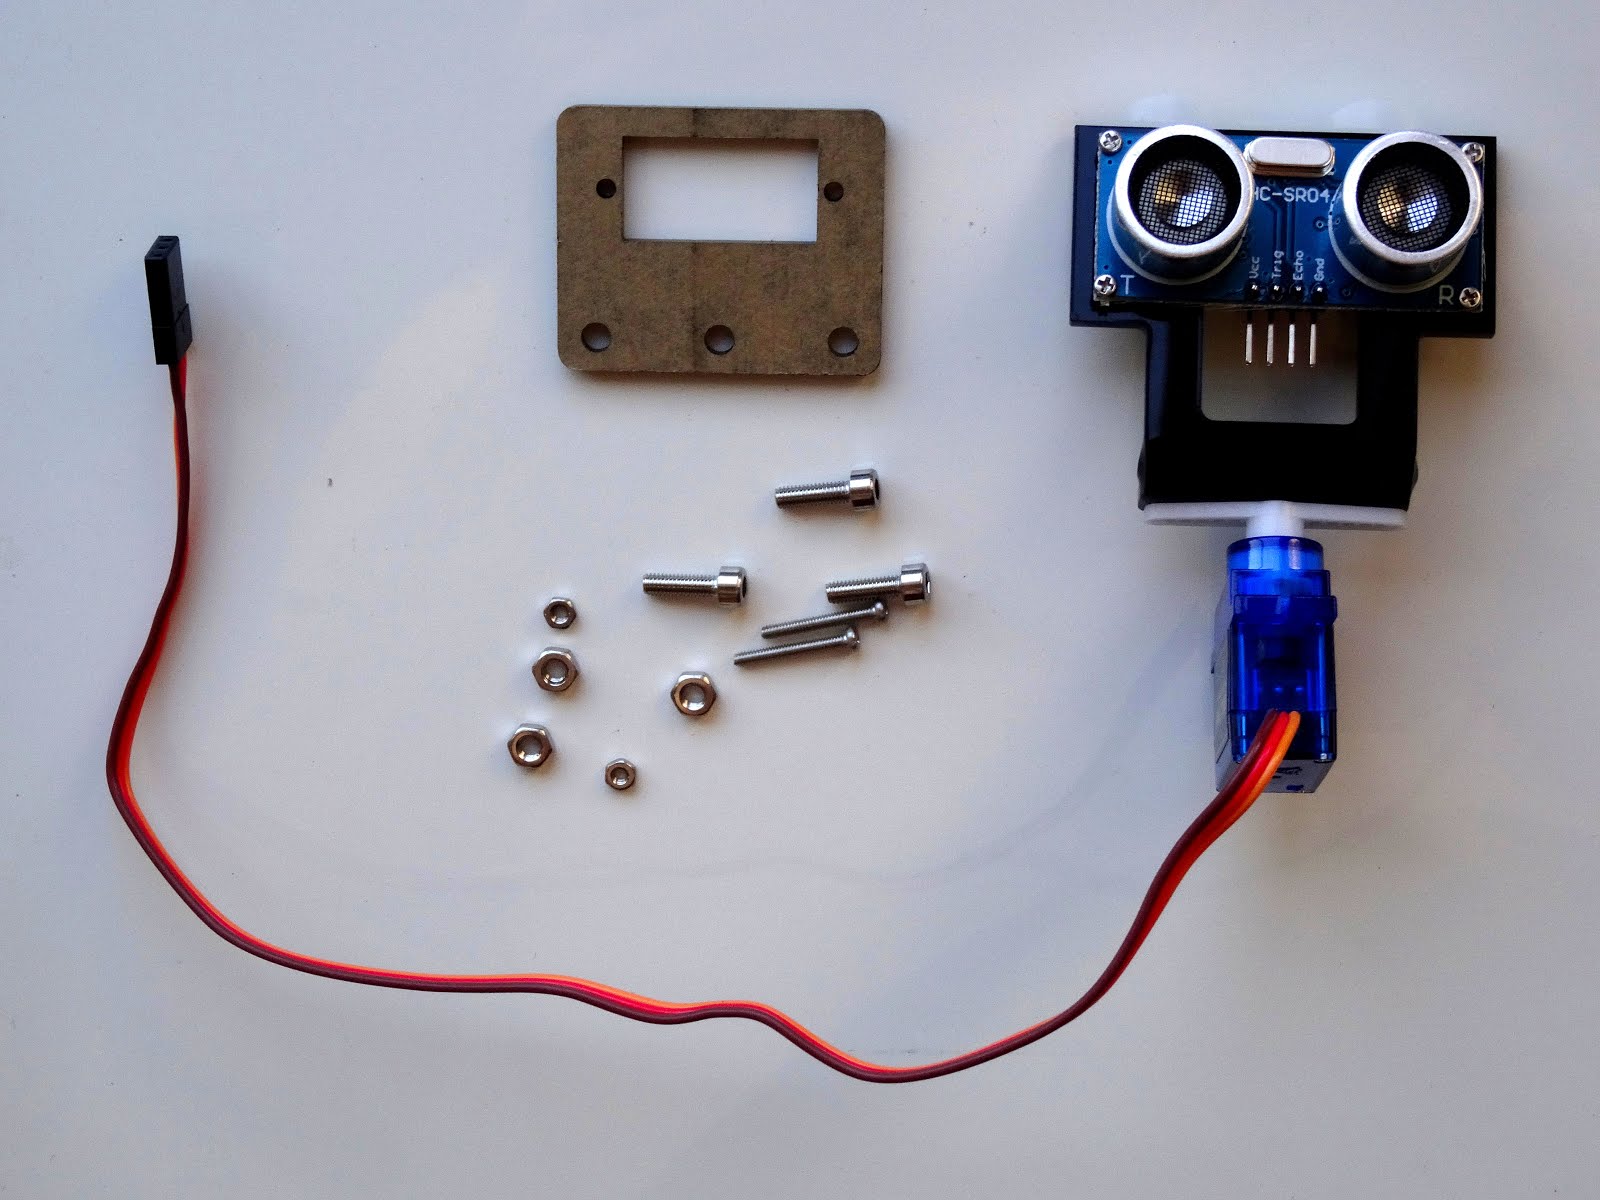
All components come nicely packed in individual bags, and the necessary screws and nuts are packaged as usual in a separated clearly labeled bag:

Unpack the Servo, and the plastic Ultrasound Sensor Holder:

From the bag of the Servo seats, take the big straight "Permanent Seat", and install it on the Servo:

Peel the protective cover from the plastic Ultrasound Sensor Holder:


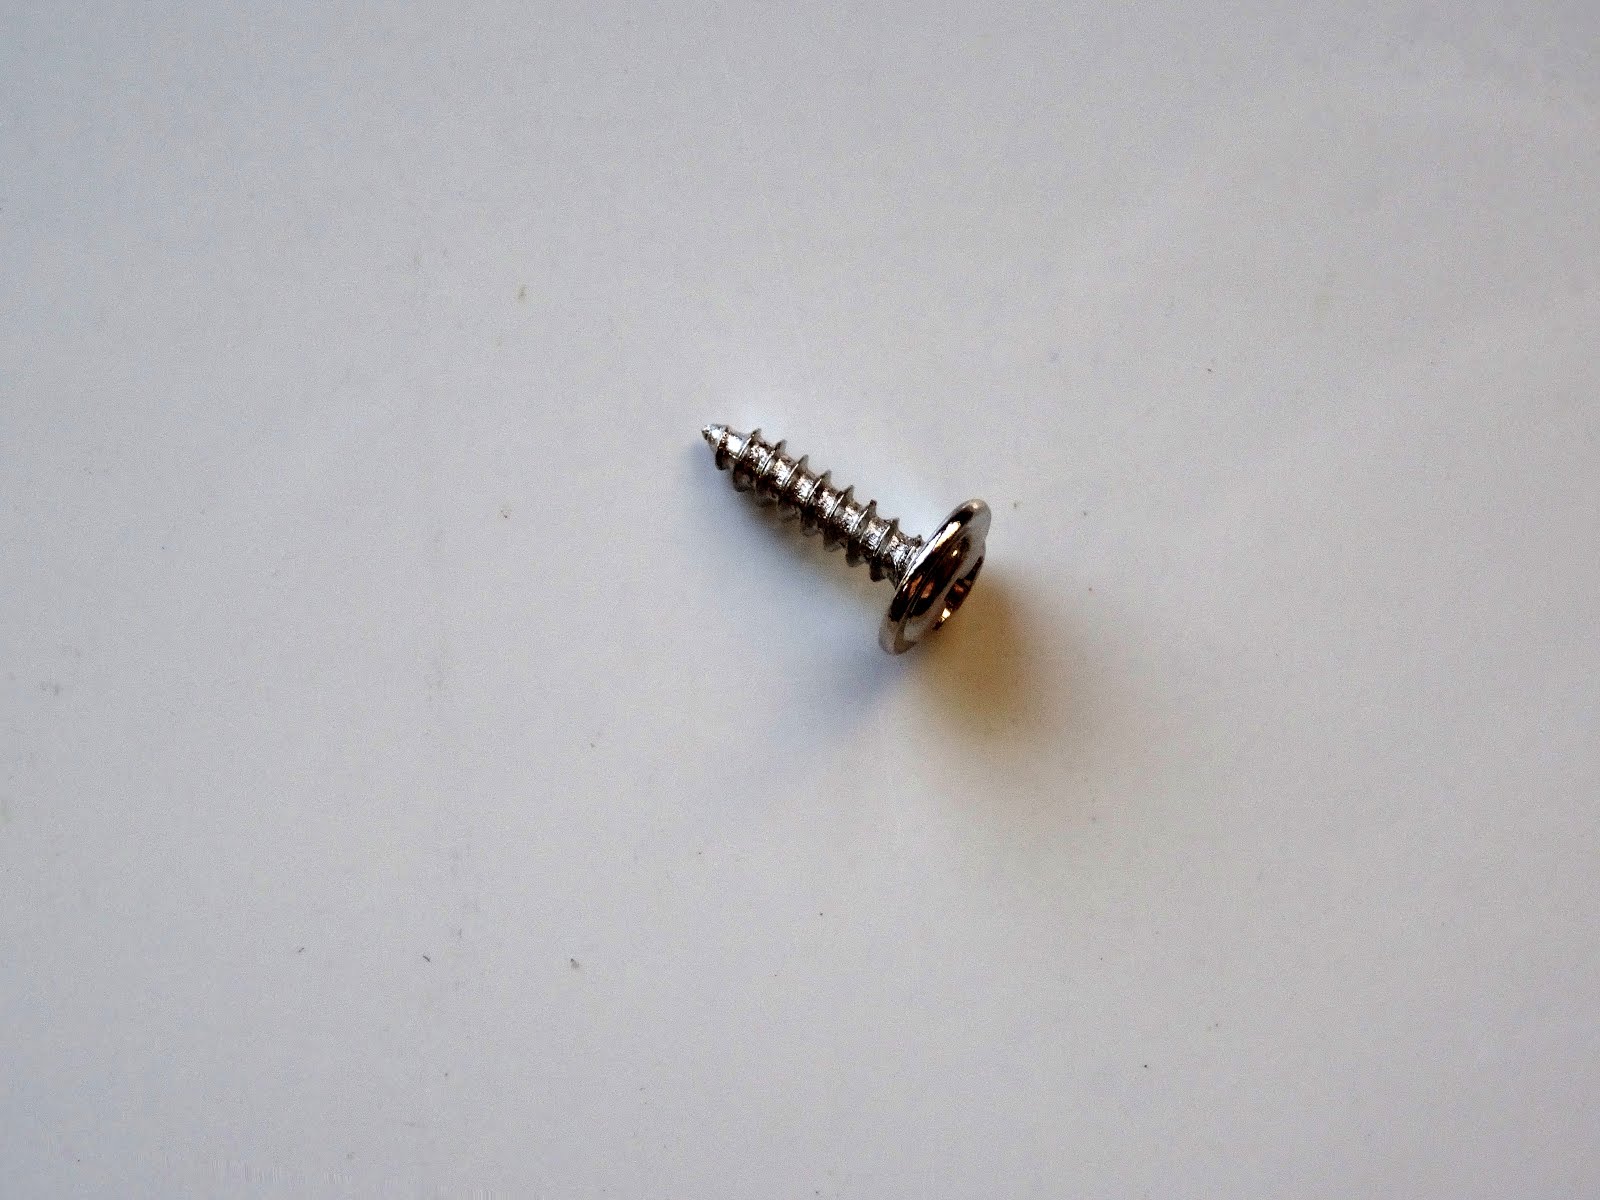
Use small self-tapping screw included in the Servo seats bag:
Insert it through the central hole of the plastic Ultrasound Sensor Holder, and then into the axle of the Servo:

Tighten the screw:

Next we will mount the Ultrasonic Sensor:

Take the 4 small long screws and insert them through the 4 holes in the corners of the Ultrasonic Sensor:

Then insert them through the 4 holes of the plastic Ultrasound Sensor Holder with the Ultrasonic Sensor pointing forward, and the connector pointing toward the Servo:


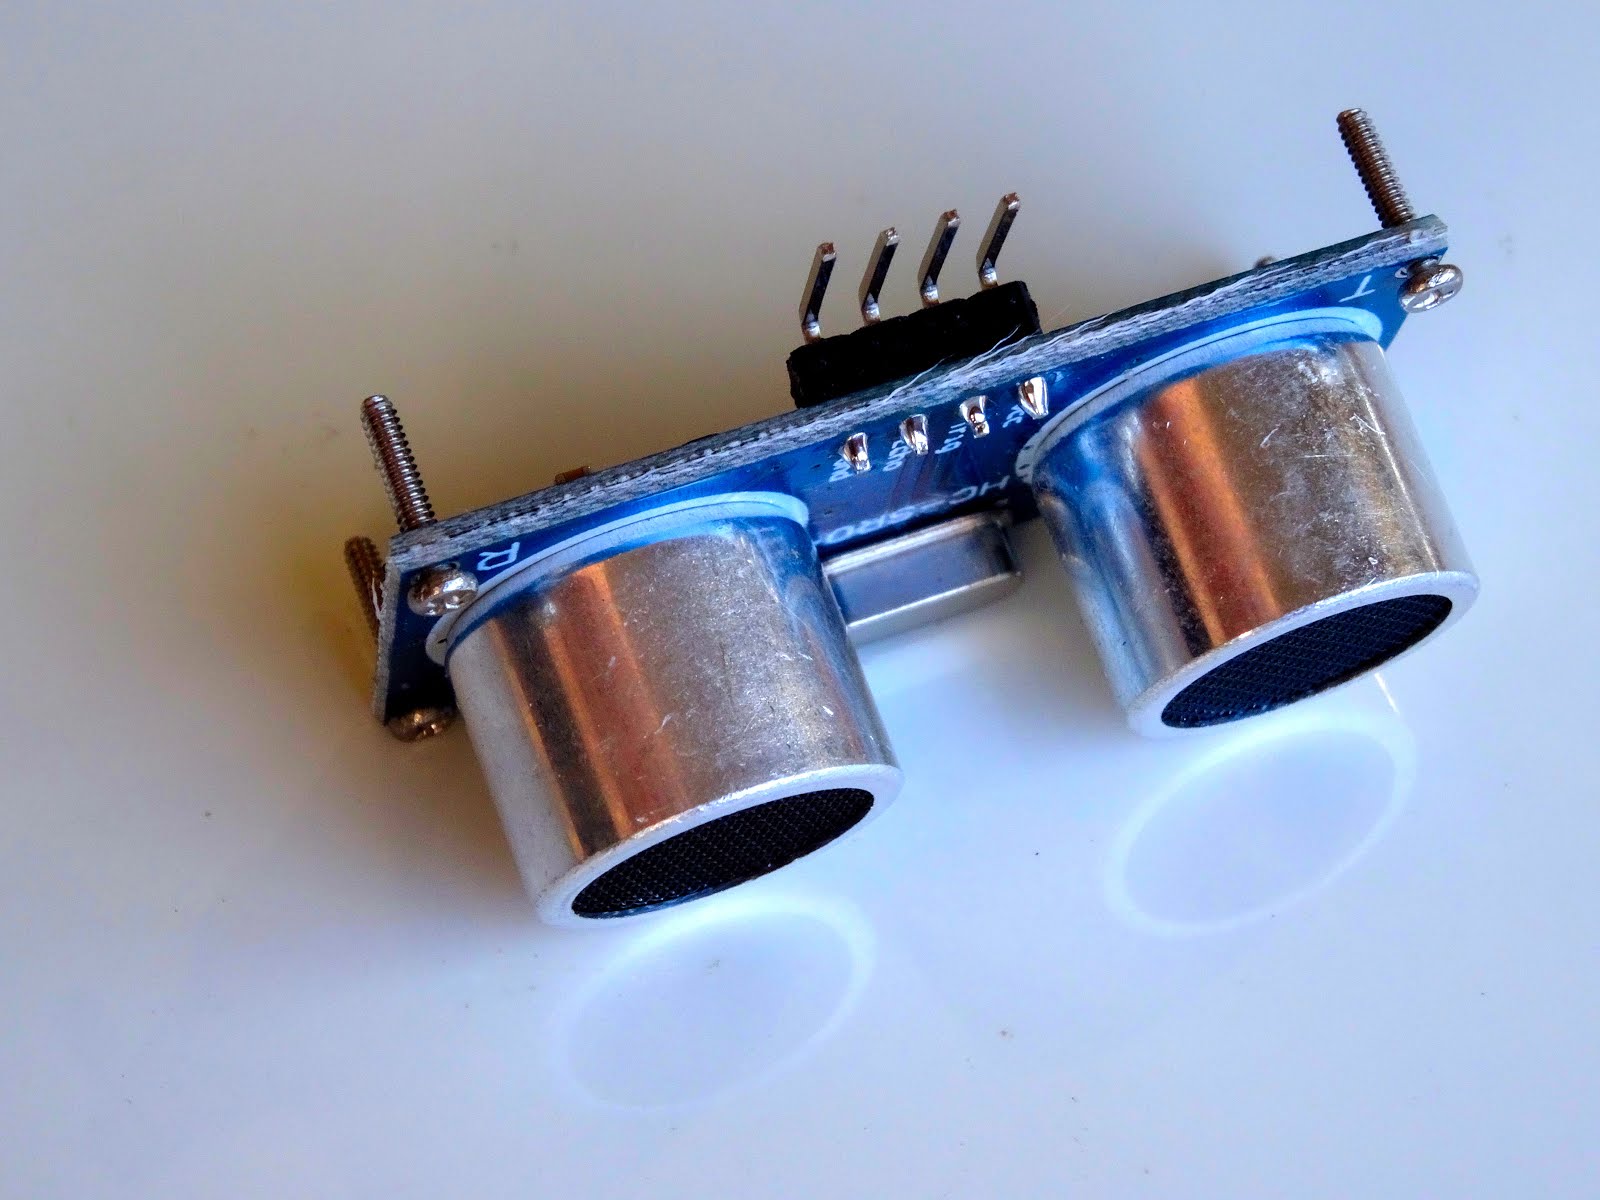
Here is how I made my sensor to look like. I discovered that I need to turn the plastic sensor holder 180 degrees around, so the Servo cables point backwards, but that is easy to do by just lessening the small screw in the center of the Servo axle:


Here is the properly oriented sensor:

Now it's time to install it on the Chassis. We will use the rest of the screws and nuts for this, and the additional support plate:
Peel the protective layer from the the support plate:

Push the cables from the servo through the big rectangular hole of the support plate:

Turn the servo so the 3 big round holes of the support plate are on the right side when looking from the back, and insert the servo through the rectangular hole. The insertion is a bit tricky, but not that difficult:


Push the cables from the servo through the big rectangular hole of the top layer of the Chassis from top to bottom, so the servo is on the top side of the layer:

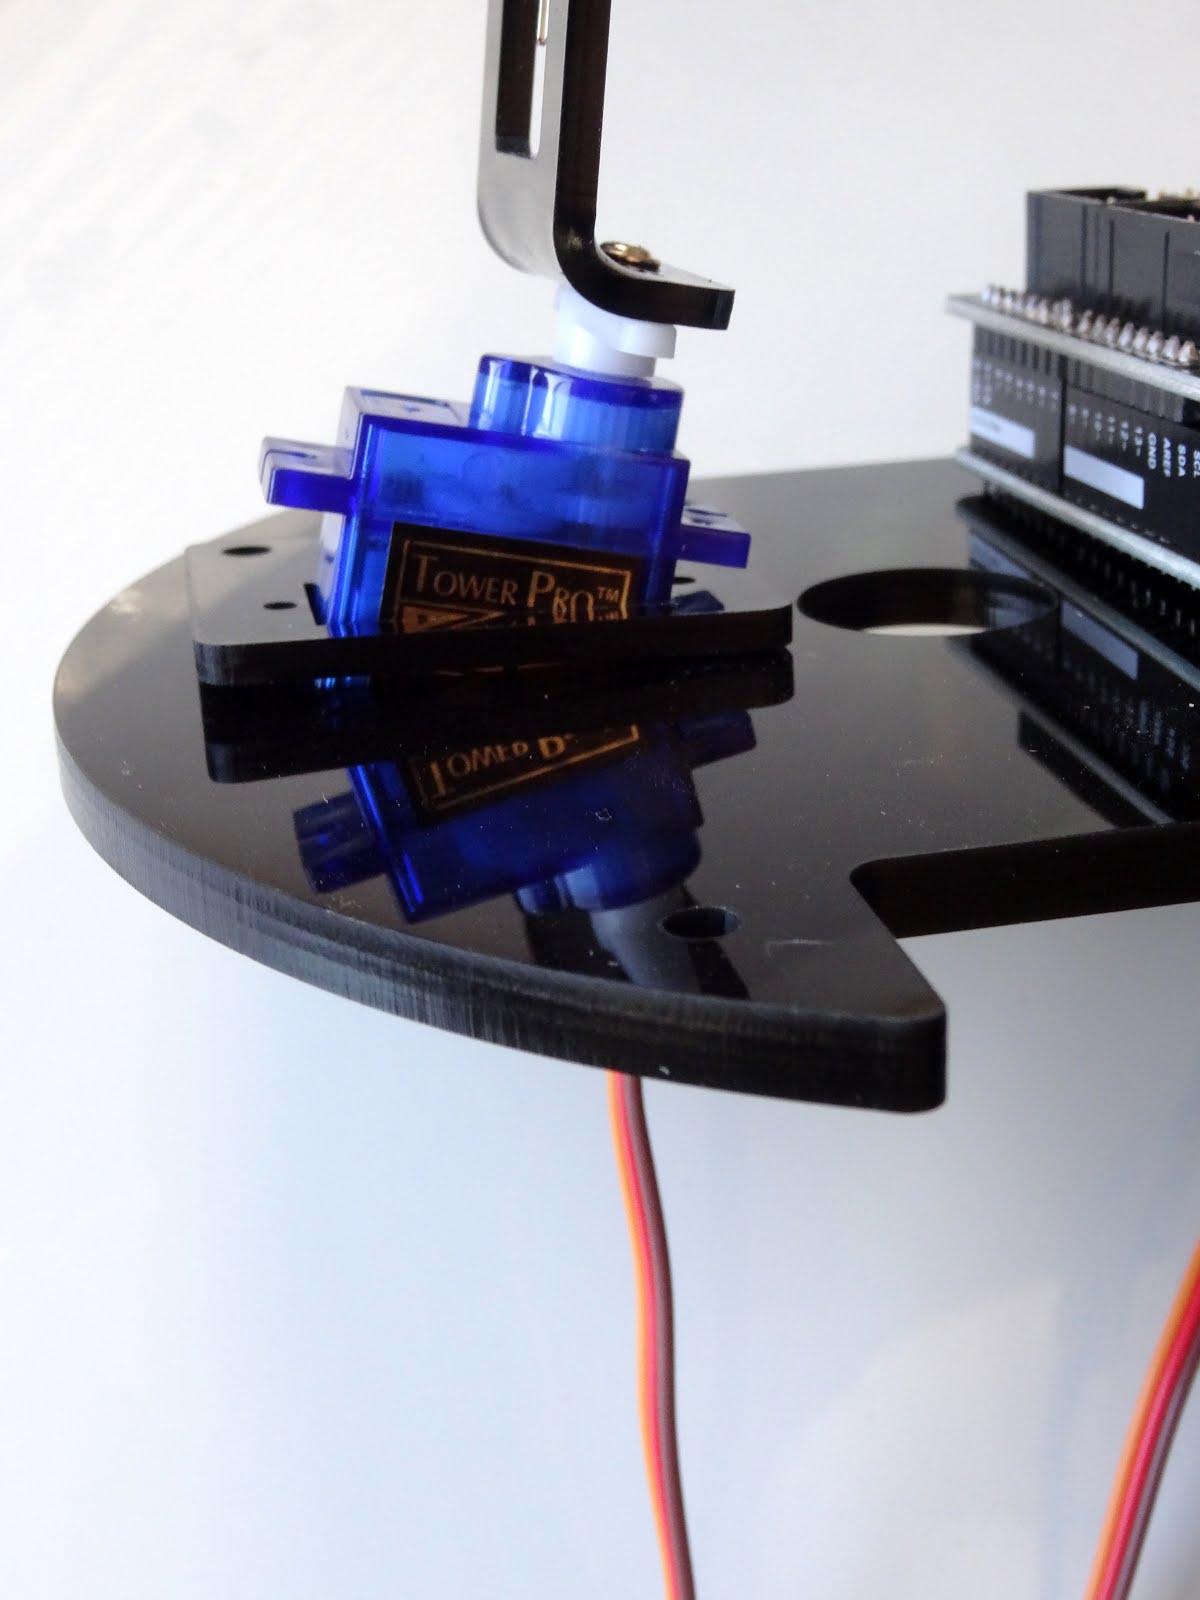
Carefully insert the servo into the big rectangular hole of the Chassis:
Take the 2 small screws:

And insert them through the 2 holes on the side of the servo from the top:

Then fasten them with the nuts on the bottom:

Insert, from the top, the 3 big screws through the 3 big holes next to the servo, and fasten them with the nuts:

The Smart Car Robot is nearly complete.
2 comments:
i'm very impressed. nice clean look & fit.
Thank you cbvcmrt! Yes, the kit looks very nice :-) . I love it! I have finish building it and hope to start experimenting with the programming in the next few days, as soon as I can free some time...
Will also try to port the last instructions tomorrow.
Post a Comment