Couple of days ago, I received this great Smart Car kit from Elegoo generously donated to support the Visuino development!
I already posted the first 2 steps of the assembly process.
Here I will show you the next step - installing the Arduino board, the Sensor Shield, and the Infrared Remote Sensor on Chassis of the Smart Car.
The Chassis consists of 2 layers. In the previous steps we worked on the bottom layer. Now it is time to start with the top layer, where the Arduino board, the Sensors Shield, the Infrared Remote receiver, the Ultrasonic Sensor and the Rechargeable Batteries are located.
Here are the components needed to install the Arduino board. The screws are from the bag labeled "FOR UNO, L298N", and we already used 4 screws for the L298N Motor Driver:

Unpack the Arduino board.
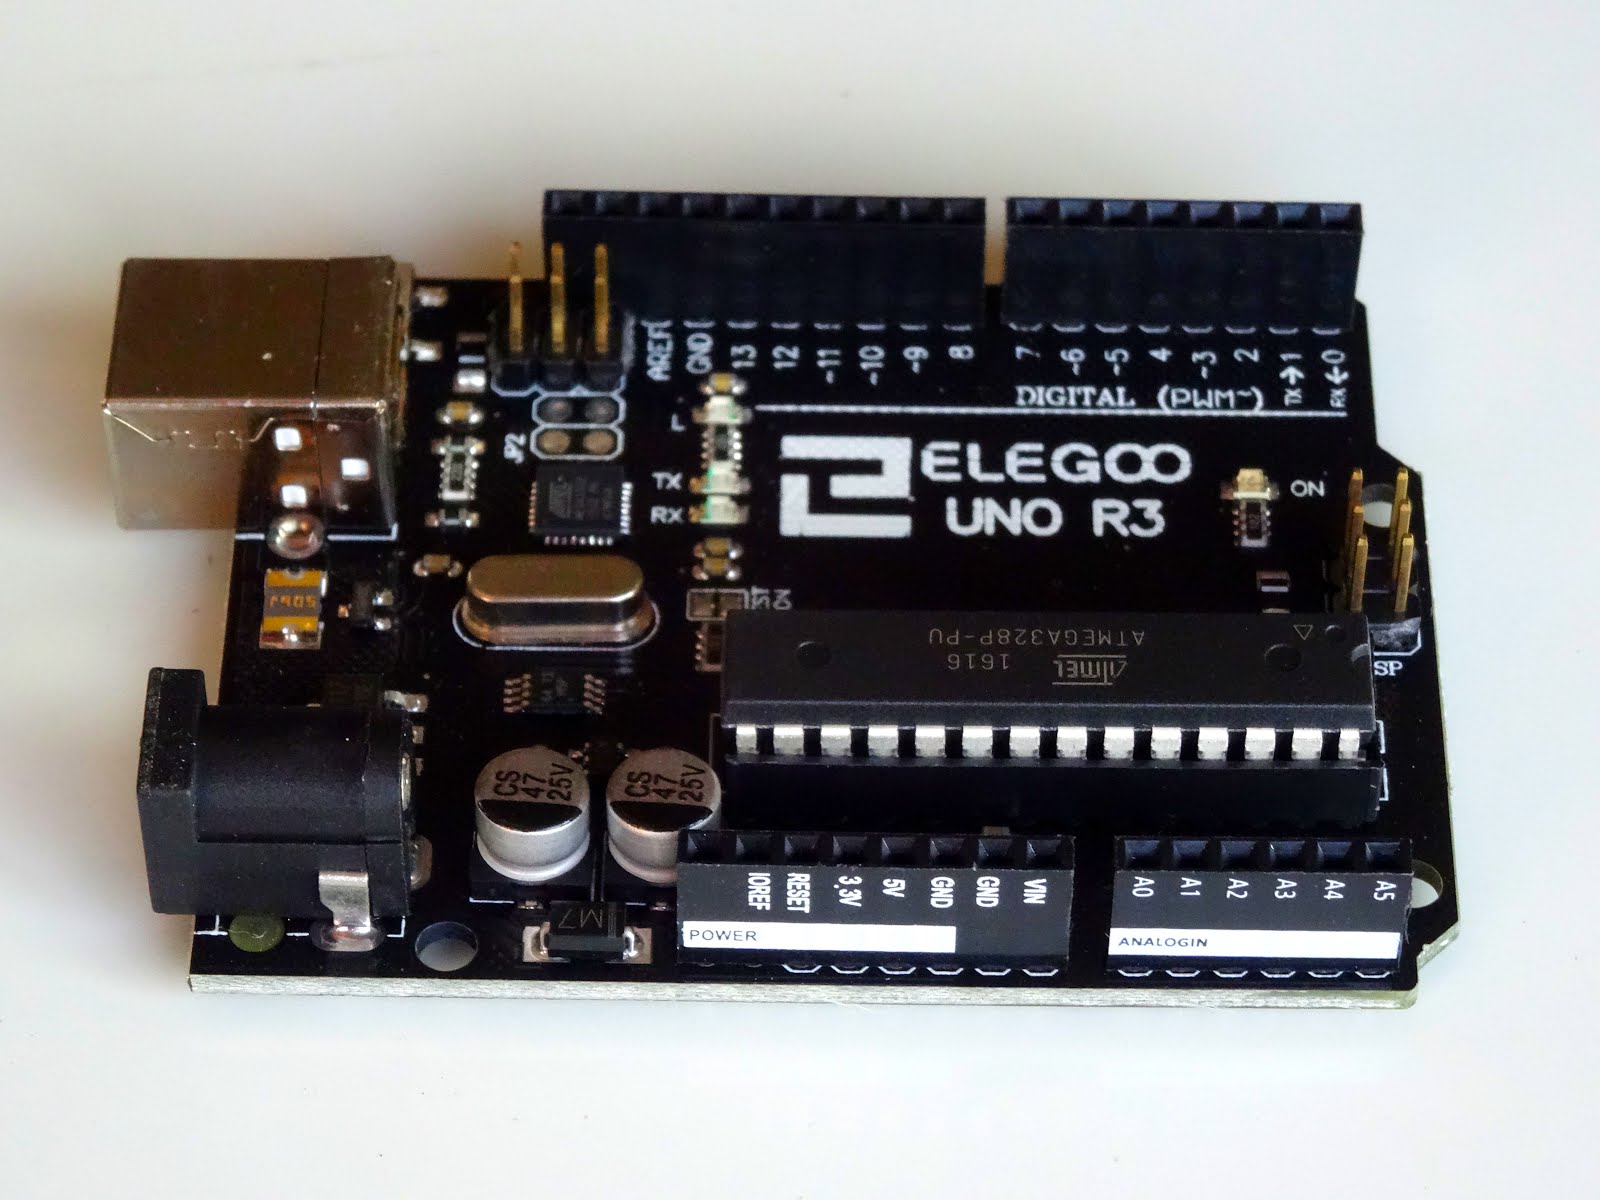
The Arduino board included in the set is also an Elegoo product:


And even has nice clear pin labels on the outside of the connectors, making it very easy to use:

Place the Arduino board on the top layer of the Chassis as shown on the picture, and insert 3 of the screws through the holes:

Screw nuts to the screws on the bottom:

Unpack the Sensor Shield:

It is also an Elegoo product:

Place it on top of the Arduino board as shown on the pictures:


And press it down so the pins will be fully inserted.
Next we will install the Infrared Remote Sensor. The necessary screws and nuts for it are packaged in a separated clearly labeled bag:

Remove the sensor, the screws, and the nuts from the bags:

Insert the screws through the holes on the sensor module as shown on the picture:

Place the sensor on the top layer of the Chassis so the screws will go through the holes:

And screw the nuts on the bottom side of the Chassis.
The Arduino board, the Sensor Shield, and the Infrared Remote Sensor are installed.
Tomorrow I will try to post the next step of the assembling of the Smart Car.
No comments:
Post a Comment