Here is how the Chassis looks like after the motors and the L298N Motor Driver module were installed:

The sensors are nicely packed, and the screws, spacers and the nuts for them are packed in a separated clearly labeled bag:

Insert the screw threaded side of the spacers into the sensors from the soldering side, and screw the nuts on the component side:

Here is how the sensors should look like after the spacers are added:

Place the first sensor on the bottom of the Chassis, over the holes at the front of the Chassis with the connector pointing toward the back of the Chassis:
Insert the screws from the top:

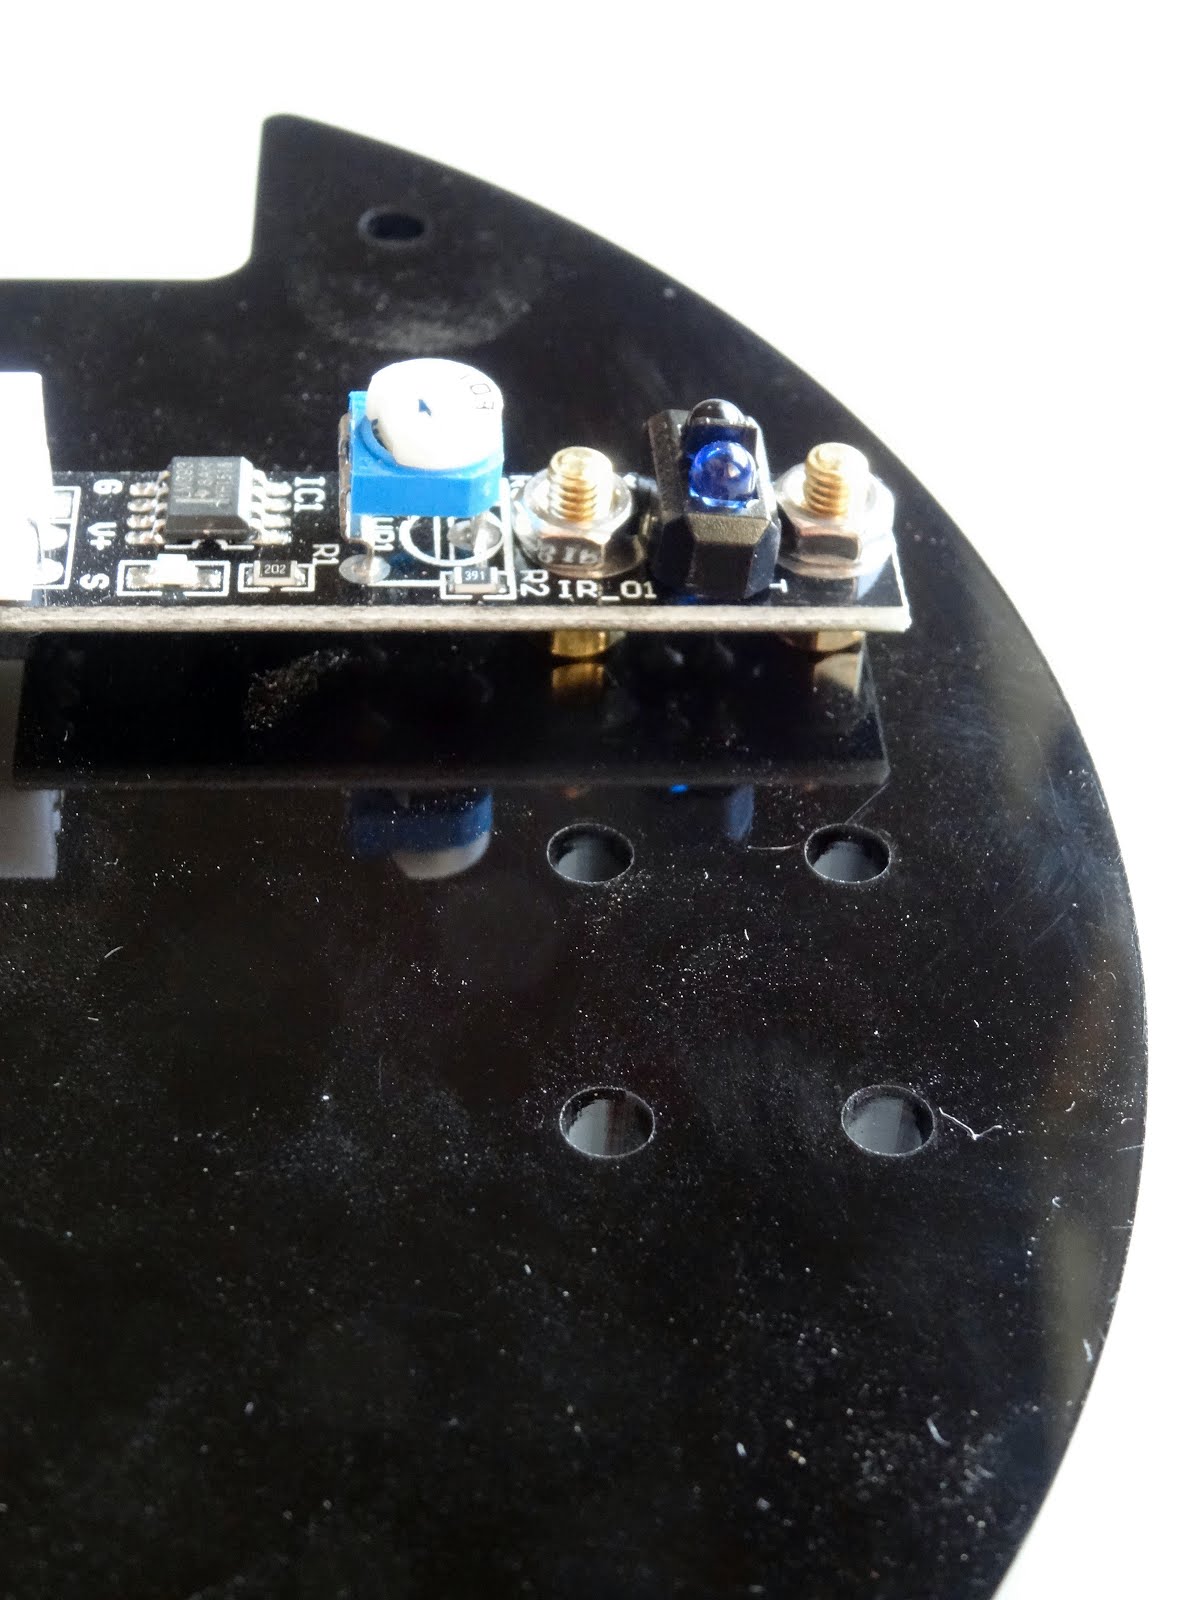
Use the Hexagon to tighten them to the spacers on the bottom:

Here is how the 3 sensors should look like once properly mounted on the bottom of the Chassis:

And the view from the top of the Chassis with the screws holding them:

The Smart Car cables are packed in a separated bag:

Unpack them, and pick the 3 long 3 wire cables with white connector on one side, and black connector on the other:

Connect the 3 white connectors to the 3 line sensors:

Push the cables through the big hole in the Chassis behind the sensors:

This concludes the installation of the Line Following sensors.
Tomorrow I will post the next step of the building of the Smart Car.
No comments:
Post a Comment