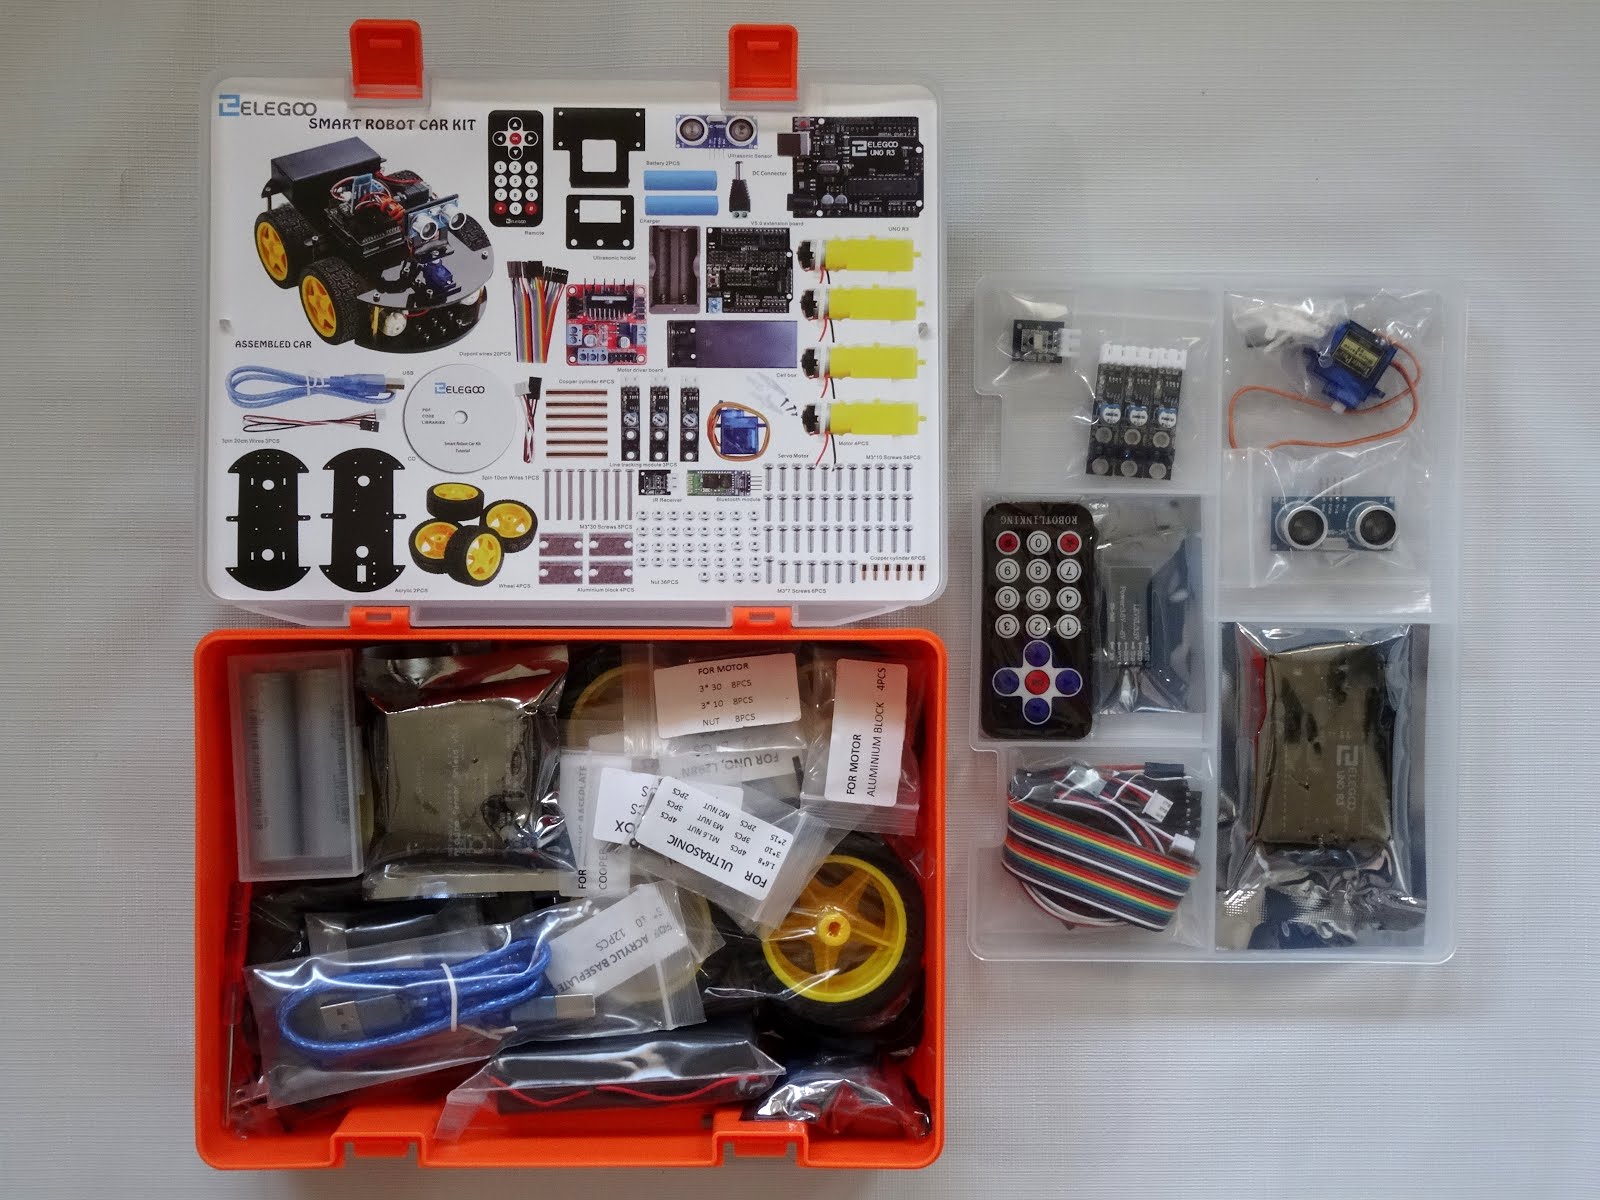
The day before yesterday, I received this great Smart Car kit from Elegoo generously donated to support the Visuino development!
Yesterday I started putting it together. The time was limited, but I did big part of the work. It went slow as I took fair number of pictures trying to document the process.
Today I should be able to finish it, and in the next couple of days will post the rest of the assembly instructions.
The first step is to install the motors on the Chassis.
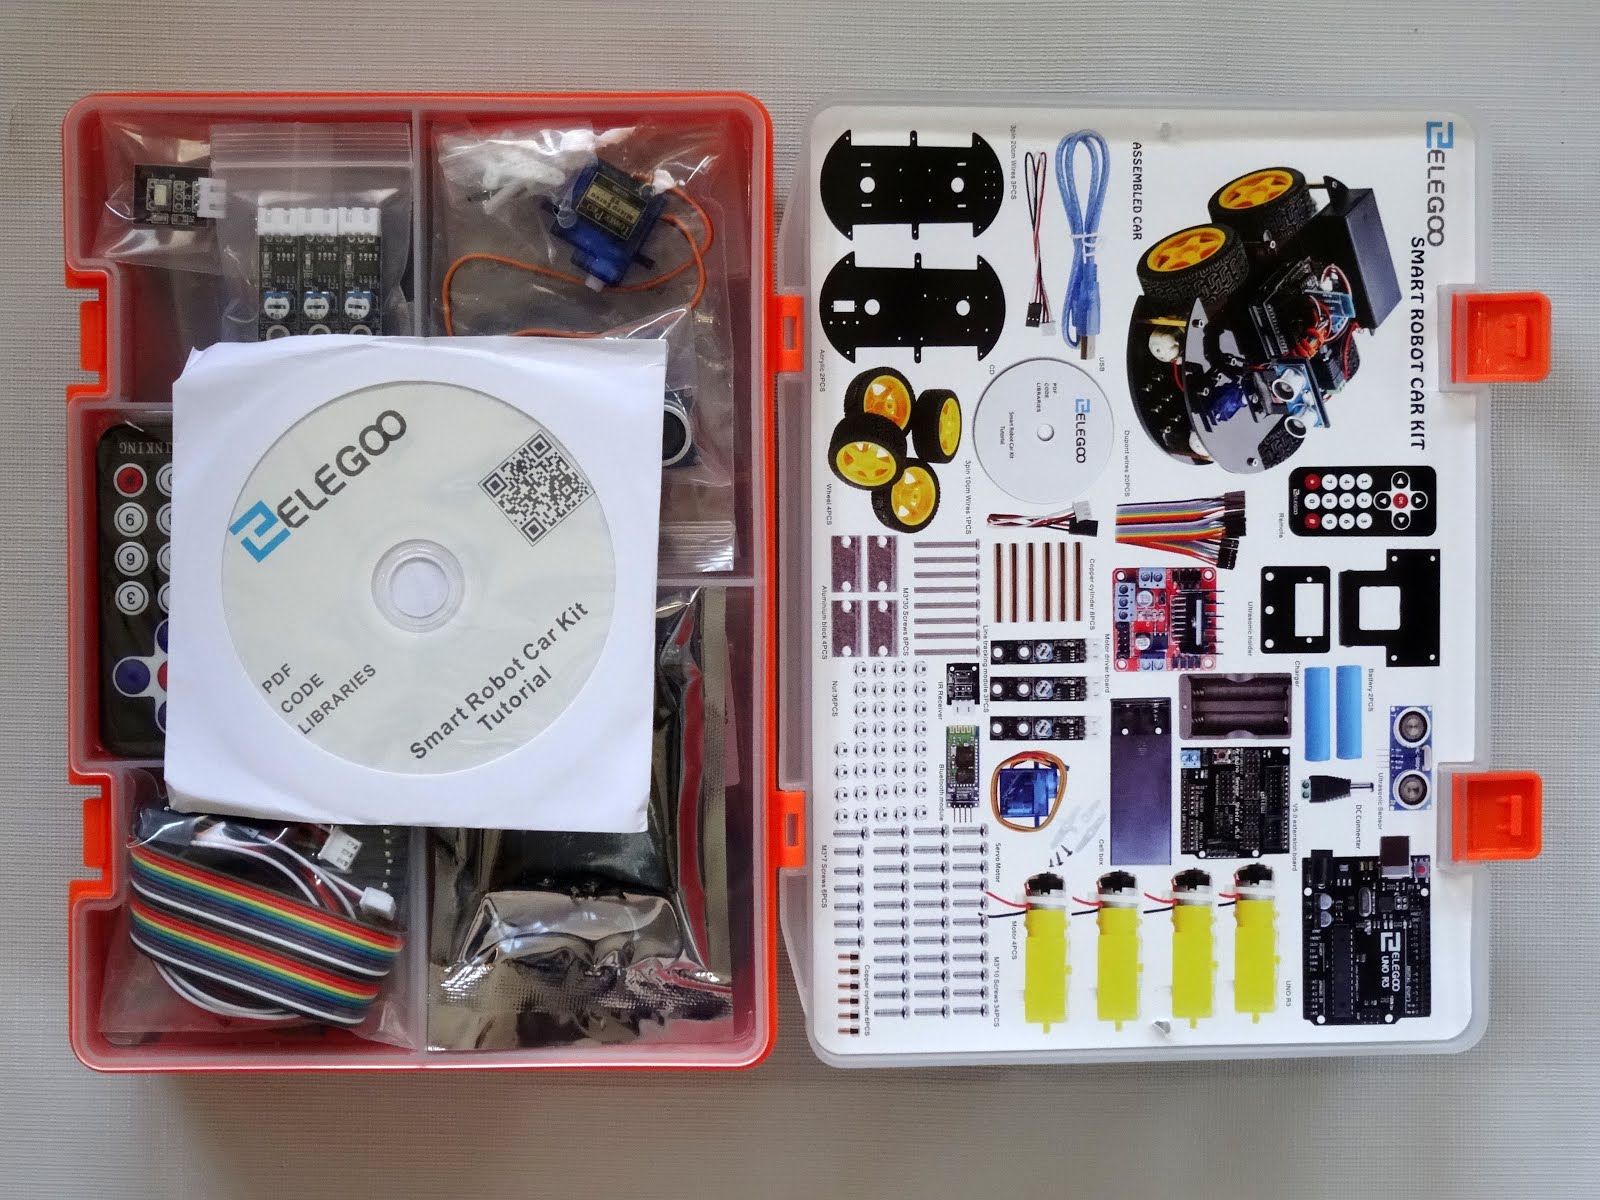
All the parts of the kit are nicely individually packed, and all the screw sets are clearly labeled.
Here are the parts I stered with:

The Chassis is covered by a protective paper layer. I started by peeling it off:

Here is the Chassis after removing the protective paper layer:

Next I started preparing the motors to be installed on the Chassis. You will need the following parts for each motor:

Insert the 2 screws through the holes on the motor gearbox so the heads are on the side opposite to the power wires:

Slide the screws trough the holes of the "metal bracket" and then screw nuts on them:

Use the included in the set hexagon tools:

To tighten the screws:

Here is how the 4 motors should look like. You can see the threaded holes of the "metal brackets" visible on the top. (Please note that you may need to flip some of them around as described later in the instructions):

Place one of the the motors on the Chassis as shown on the picture with the threaded holes of the "metal bracket" facing down:

The Chassis has straight slots where the motors need to be mounted. Protrude 2 short screws through the slot, and insert them in the 2 threaded holes of the "metal bracket" attached to the motor:


Use the hexagon tool to tighten the screws.
Here is how the 4 motors should look like once installed (Please note that on this picture all black wires are on the upside. This is incorrect, I had to remount 2 of the motors later to correct for this. Look at the connected motors further down to see the correct installation.):

Next we need to install the L298N Motor Driver. It is also nicely packed, and the corresponding screws for it, and the Arduino UNO board are in a clearly labeled bag:

Here is the unpacked L298N Motor Driver module:

The L298N Motor Driver module is also an Elegoo product:

Place the L298N Motor Driver module in the center of the Chassis as shown on the picture, and insert 4 screws through the 4 holes:

Screw nuts to the 4 screws on the bottom of the Chassis:

Make sure that the 2 motors at the Back of the Chassis have their Black cables on the upside. If necessary swap some of the motors around to achieve this configuration:

Make sure the 2 motors at the Front of the Chassis have their Red cables on the upside. If necessary swap some of the motors around to achieve this configuration:

Lose the motor connectors on the left and right side of the L298N Motor Driver module with a screwdriver.
Connect together the Black wires from the 2 motors of the Left side (looking at the cart from the back) to the Front Connection Point of the left motor connector of the L298N Motor Driver module:

Tighten the connector with a screwdriver:

Connect together the Red wires from the 2 motors of the Left side (looking at the cart from the back) to the Back Connection Point of the left motor connector of the L298N Motor Driver module, and tighten it with a screwdriver:

Connect together the Black wires from the 2 motors of the Right side (looking at the cart from the back) to the Back Connection Point of the left motor connector of the L298N Motor Driver module, and tighten it with a screwdriver.
Connect together the Red wires from the 2 motors of the Right side (looking at the cart from the back) to the Front Connection Point of the left motor connector of the L298N Motor Driver module, and tighten it with a screwdriver:

Take the wheels out of the box:

And unpack them:

Insert the axle of the gearbox of one of the motors to the center hole of the wheel. You will need to rotate the wheel until reaching the right position to insert the axle:


Repeat the same procedure for all of the wheels:

This concludes the work on the assembling of the motors and connecting them to the motor driver.
In the following blog entries, I will show you the assembling of the rest of the Smart Car.